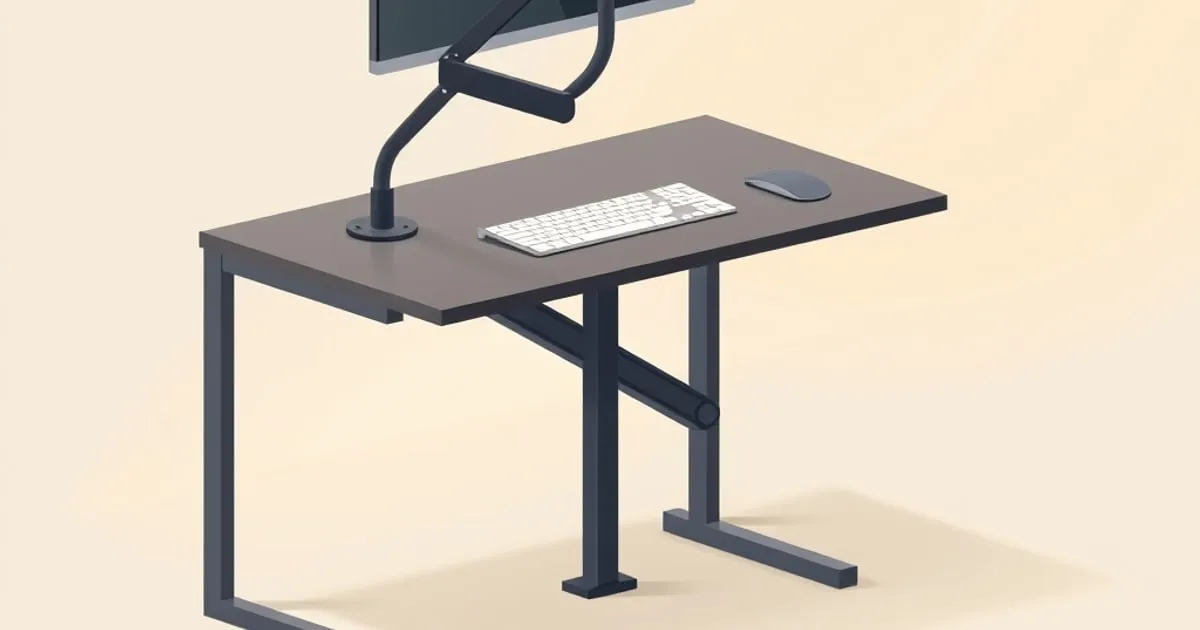
Best Monitor Arm for Standing Desk: What the Specs Tell You
How to pick the best monitor arm for a standing desk using VESA pattern, vertical travel, weight capacity, and mount type, plus two reference picks.
Picking the best monitor arm for a standing desk is a different problem than picking one for a desk that never moves. A fixed-height desk only needs a monitor position that works for one seated posture. A standing desk needs an arm that can track your eye line through 15 to 20 inches of desktop travel, twice a day or more, without the monitor drifting, sagging, or fighting you at the top of the range. Most buying guides skip that distinction and just rank arms by price. This one starts from the mechanism.
Why a Fixed Monitor Position Fails on a Standing Desk
When you raise a sit-stand desk, the monitor rises with it, but your eye height doesn’t change by the same amount relative to the desktop unless you also adjust the screen. If the arm can’t move enough, you end up tilting your neck to compensate at one end of the range, which is exactly the posture the OSHA Computer Workstations eTool flags: it recommends keeping the top of the screen at or below eye level so you’re not tilting your head back to see it, and positioning the monitor at least 20 inches away. A monitor bolted to a fixed riser or resting on a stack of books meets that guidance in exactly one desk height. An arm with real vertical travel meets it in both.
Specs That Matter for a Standing-Desk Monitor Arm
Four numbers do most of the work when you’re comparing spec sheets:
| Spec | Why it matters at standing height | Typical range |
|---|---|---|
| VESA pattern | Determines which monitors physically bolt on | 75x75mm or 100x100mm (VESA MIS-D standard) |
| Weight capacity | Under-rated arms sag or drift over months, worse when jostled at full extension | roughly 7-28 lb for single-monitor arms |
| Vertical travel | Has to cover the gap between your seated and standing eye height | 12-16 inches on most gas-spring arms |
| Mount type | Clamp vs. grommet changes what happens as the desk frame moves | clamp (0.4-2.4 in desk edge) or grommet (through a drilled hole) |
The VESA pattern isn’t a matter of taste. The Flat Display Mounting Interface standard defines the 75x75mm and 100x100mm hole spacings that essentially every consumer monitor arm and monitor back plate uses, per the VESA mount specification. Anything outside those patterns needs an adapter plate, which adds a failure point right at the pivot; the VESA compatibility explainer walks through the patterns and the adapter options.
Clamp, Grommet, or Bolt-Through: Mount Type Changes at Standing Height
The three attachment methods are compared in detail in desk clamp vs grommet vs wall mount. A clamp mount grips the desk edge and is the fastest to install, but it’s also the mount most exposed to the flex a standing desk frame produces as it telescopes up. A grommet mount goes through a drilled hole in the desktop and sits closer to the frame’s structural centerline, which generally transmits less wobble to the screen when the desk is at full height. The Ergotron LX (Amazon Associates) ships with both options in the box, with the clamp rated for edges 0.4 to 2.4 inches thick and the grommet rated for holes 0.31 to 2 inches wide, per its spec sheet. If you already own the desk and can drill it, grommet-mounting near the lifting column, rather than at the far corner, keeps the monitor’s weight closer to where the frame is actually rigid.
Two Worked Examples
Spec sheets alone don’t tell you what a category actually delivers, so it helps to anchor against two documented arms at different price points.
The Ergotron LX Desk Mount is the reference point most buying guides default to for a reason: 100x100/75x75 VESA compatibility, a 7 to 25 lb weight capacity, 13 inches of vertical lift, 25 inches of horizontal extension, and a 10-year warranty, according to its manufacturer spec sheet. The Ergotron LX review goes through those figures in context. That 13-inch lift is the number to check against your own sit-stand delta before assuming any arm in this price bracket will cover a tall standing desk’s full range.
The Humanscale M8.1 sits well above it on price, listed from $468 for a single-monitor clamp configuration up to $645 with a dual-monitor crossbar, per the Humanscale product page. It covers roughly 6 to 28 lb on a single display, which matters if you’re running a heavier 32-inch or curved ultrawide panel that would put an entry-level arm’s capacity at its limit. The extra cost buys weight-compensating spring tuning that stays accurate as you swap monitors, not a fundamentally different mounting geometry.
Neither arm is the objectively “best” one; they’re reference points for two different weight classes. Match the arm’s rated capacity to your actual monitor weight with headroom, not to the monitor you plan to buy next year; the guide to weight ratings and capacity covers how much margin to leave.
Setting the Arm for an OSHA-Consistent Eye Line
Once the arm is mounted, the setup that matters is simple: with the desk at seated height, adjust the arm until the top of the screen sits at or slightly below eye level and the front of the panel is at least 20 inches from your face, per the OSHA eTool. Raise the desk to standing height and repeat the check. If the arm’s vertical travel can’t close that gap without you craning your neck at one end, the arm is undersized for your desk’s height range, not just your monitor’s weight.
A standing desk is the case where this check has to pass twice, at two different eye heights, which is why a stand with four inches of travel never manages it. The full set of target numbers, and the arithmetic for turning your own eye height into a required travel figure, is in monitor height and screen position.
Wobble Is the Failure Mode Unique to Standing Desks
A monitor arm that feels solid on a stationary desk can develop visible shake once it’s riding a sit-stand frame through daily height changes. The physics is leverage: the farther the screen’s weight sits from the mounting point, the more a small amount of desk-frame flex turns into visible motion at the screen. Two habits reduce it without buying a different arm: keep the arm’s horizontal reach as short as your desk depth allows, and route cables with enough slack that they aren’t pulling on the arm at either end of its vertical travel.
Bottom Line
For most single-monitor standing desk setups, an arm in the Ergotron LX’s spec range, VESA 75/100 compatible, 12+ inches of vertical travel, weight-rated with margin above your monitor, covers the job. Step up to heavier-duty arms like the Humanscale M8.1 only when your monitor’s actual weight or your desk’s height range demands the extra capacity. Skip an arm entirely only if your monitor never needs to move, which on a standing desk is rare. Check your own panel against a candidate arm with the Monitor Arm Fit Checker, and if the arm you already own sinks after every height change, work through monitor arm drifting or sagging before replacing it.
Related across the network
- Bias Lighting vs Monitor Light Bar: What Each Fixes — desklightingguide.com
Related on this site
Sources
Related

How to Choose a Monitor Arm: A Spec-First Buyer's Guide
A buyer's guide for monitor arms: weight capacity, reach, joint type, mount style, and the compatibility checks that separate a good arm from a bad one.

How to Mount a Monitor Without VESA Holes: 3 Working Methods
How to mount a monitor without VESA holes: bezel-clamp adapters, stand-swap brackets, and adhesive plates compared on fit, stability, and where each fails.

Best Monitor Arms 2026: Ranked by Spec and Capacity
Compare six monitor arms by published capacity, reach, VESA support, and warranty, with picks for standard screens, heavy panels, and smaller budgets.