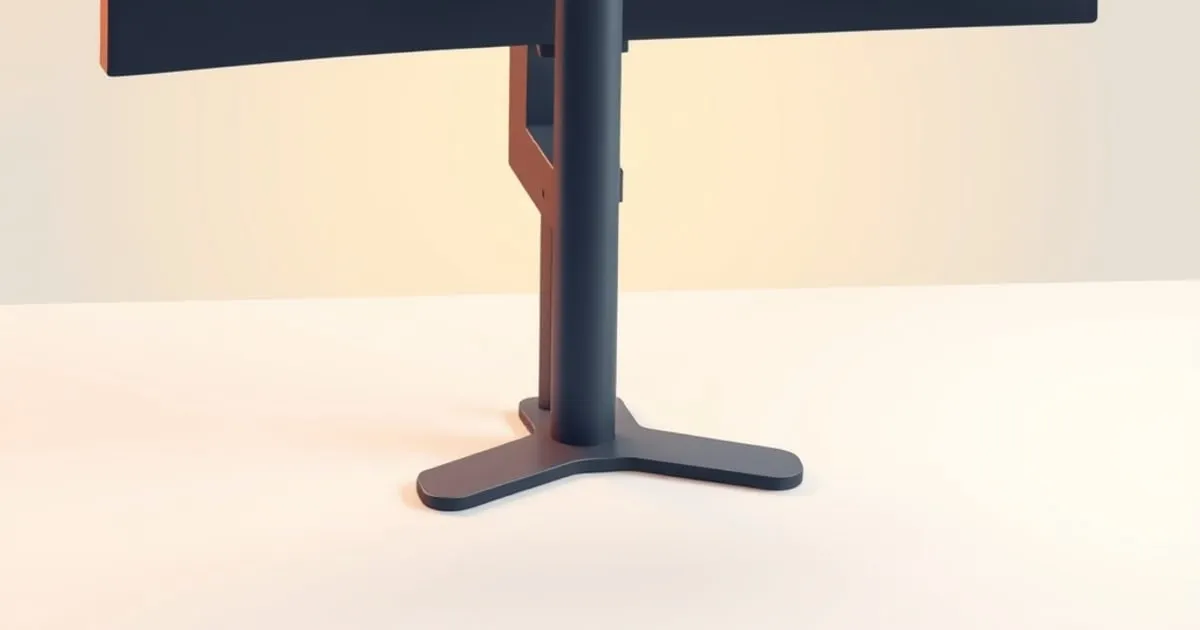
How to Mount a Monitor Without VESA Holes: 3 Working Methods
How to mount a monitor without VESA holes: bezel-clamp adapters, stand-swap brackets, and adhesive plates compared on fit, stability, and where each fails.
If you’re trying to figure out how to mount a monitor without VESA holes, you’re not dealing with a defective panel — plenty of displays simply ship without the four-hole bolt pattern on the back, and no amount of searching the enclosure will turn one up. Ultra-thin panels, curved ultrawides, older all-in-ones, and Apple’s iMac and Cinema/Thunderbolt Display lines have all skipped it at one point or another, usually to save on chassis depth or to keep you locked into the bundled stand. The fix isn’t drilling into the case. It’s picking the right adapter for how your specific monitor is built.
Why some monitors skip VESA entirely
VESA’s mounting spec is officially called the Flat Display Mounting Interface (FDMI), and it’s split into size-based parts rather than one universal pattern. Part D covers 12”–22.9” diagonal displays up to 14 kg (30.8 lbs) and calls for a four-hole interface, either center- or edge-mounted; Part E covers 23”–30.9” displays up to 22.7 kg (50 lbs) with a six-hole pattern; Part F covers everything from 31” up to 90” and 113.6 kg (250 lbs) with a multi-hole interface, per VESA’s own FDMI overview. Compliance is optional, not mandatory — a manufacturer can build a 24” monitor and simply not implement Part D. The explainer on VESA compatibility covers how the standard patterns map to real monitors. Budget panels, monitors sold as part of an all-in-one PC, and slab-thin designs are the usual holdouts, because a proper VESA boss adds internal depth and cost the manufacturer doesn’t want to spend.
An adapter may present standard VESA 100x100 spacing to the arm even when the monitor itself has no mounting holes. Confirm the adapter’s output pattern before comparing monitor arms, ranked.
Method 1: bezel-clamp adapters (the default choice)
For a standard flat monitor with a bezel around the screen, a clamp-style adapter is the least invasive option. Kits like the Mount-It MI-780 use adjustable metal arms that grip the top and bottom (or side) bezel of the display and terminate in a plate drilled to the 75x75mm and 100x100mm VESA pattern. According to the manufacturer’s own spec sheet, that kit fits monitors up to roughly 30” with a bezel height between 11.5 and 19.2 inches and a screen thickness up to 2.75 inches — measure your panel’s actual bezel height and depth before ordering, because “fits up to 30 inches” doesn’t mean it fits every 30-inch monitor’s bezel geometry.
The catch: Mount-It doesn’t publish an independent weight rating for the bracket itself. Don’t treat the arm or mount’s stated capacity as a green light — size the setup to your monitor’s actual weight with margin, using the headroom math in the guide to weight ratings and capacity, and recheck the clamp tension after the first week, since bezel grips can loosen slightly as the plastic bezel compresses under sustained clamping force.
Method 2: stand-swap brackets (iMac and similar all-in-ones)
Some displays don’t have a bezel to clamp because the “monitor” is really a computer with a fixed foot, like older iMacs or Apple’s standalone Cinema and Thunderbolt Displays. For these, the fix is a bracket that unbolts the factory stand and bolts a VESA plate into the same mounting points — no adhesive, no drilling. HumanCentric’s adapter for these models does exactly that: it’s compatible only with displays that have a removable stand (the aluminum 24” iMac, the 27” iMac from late 2009 through mid-2011, the LED Cinema Display, and the Thunderbolt Display), it outputs a 100x100mm VESA pattern, and the whole bracket weighs about a pound, per the product page. Apple has also sold VESA-ready configurations of newer iMacs directly at purchase, which sidesteps the adapter question entirely if you’re still shopping.
The limitation is model-specificity. These brackets are machined to one stand’s screw locations, so a bracket built for a 2011 27” iMac won’t fit an M1 24” iMac, and there’s no universal version — you have to match the exact model year.
Method 3: adhesive-backed adapter plates (thin, curved, or edge-to-edge panels)
When there’s no bezel worth clamping — ultra-slim monitors, curved panels, or displays with an edge-to-edge glass front — the remaining option is a VESA plate that bonds to the back of the panel with structural adhesive rather than mechanical clamps or screws. These exist and are widely sold, but treat manufacturer weight claims skeptically until you’ve confirmed the number on that specific product’s own spec sheet, and follow the cure time before hanging any load on it — most require the adhesive to set for a full day before the plate takes weight. This is the method with the least margin for error: a clamp or bolted bracket fails obviously (it loosens, you notice, you retighten), while an adhesive bond can look fine and then let go under sustained load, especially in a warm room or on a textured monitor back that reduces contact area. If your monitor has a bezel large enough for Method 1, prefer it over adhesive every time.
Comparison
| Method | Best for | Typical size range | Attachment | Removes factory stand? |
|---|---|---|---|---|
| Bezel-clamp adapter | Standard flat monitors with a visible bezel | Up to ~30” (verify bezel height/thickness) | Mechanical clamp, no adhesive/drilling | No |
| Stand-swap bracket | iMac and similar all-in-ones | Model-specific | Bolts into factory stand mounts | Yes |
| Adhesive plate | Thin/curved/edge-to-edge panels with no clampable bezel | Varies by product | Structural adhesive, cure time required | No |
Get the height right once it’s mounted
Whichever adapter you use, the reason to mount the monitor in the first place is usually posture, so don’t stop at “it’s attached.” OSHA’s computer workstation guidance puts the ideal viewing distance at 20 to 40 inches from your eyes to the screen, with the top of the display at or slightly below eye level and the screen center sitting 15 to 20 degrees below horizontal eye level — closer to a downward glance than a straight-ahead stare. The whole screen should stay within a 60-degree downward viewing cone, and the monitor should sit directly in front of you, not more than 35 degrees off to either side, to avoid loading your neck asymmetrically over a full workday. If you wear bifocals, OSHA’s guidance specifically recommends dropping the monitor lower than the standard range rather than tilting your head back to find the right part of the lens.
Turning those figures into a target height for your own eye line, and checking whether the adapter plus arm can physically reach it, is worked through in monitor height and screen position. Once the hardware is chosen, the build order that keeps an adapter plate from being fitted twice is in how to install a monitor arm, and the Monitor Arm Fit Checker will confirm the panel weight and VESA pattern the adapter presents are inside a given arm class.
Bottom line
Match the adapter to how the monitor is physically built, not to whatever shows up first in a search. Once the adapter is settled, the rest of the buying decision is covered in how to choose a monitor arm and the comparison of desk clamp, grommet, and wall mounts. A bezel you can clamp beats adhesive every time; an all-in-one with a removable stand wants a stand-swap bracket built for that exact model; adhesive is the last resort for panels with nothing else to grip. In every case, verify the manufacturer’s own fit dimensions and weight numbers before buying rather than trusting a generic “13–27 inch” listing, and once it’s mounted, set the height using OSHA’s eye-level and viewing-distance figures rather than eyeballing it.
Sources
Related

Monitor Arm vs Monitor Stand: Adjustability and Space
Compare monitor arms and monitor stands on adjustability, ergonomics, cost, and workspace efficiency. Learn when each makes sense for your desk setup.

Monitor Height: How High Your Screen Should Sit
Monitor height, tilt, and viewing distance from published workstation guidance, plus the arithmetic that shows whether your stand can actually reach it.

Best Monitor Arm for Standing Desk: What the Specs Tell You
How to pick the best monitor arm for a standing desk using VESA pattern, vertical travel, weight capacity, and mount type, plus two reference picks.